
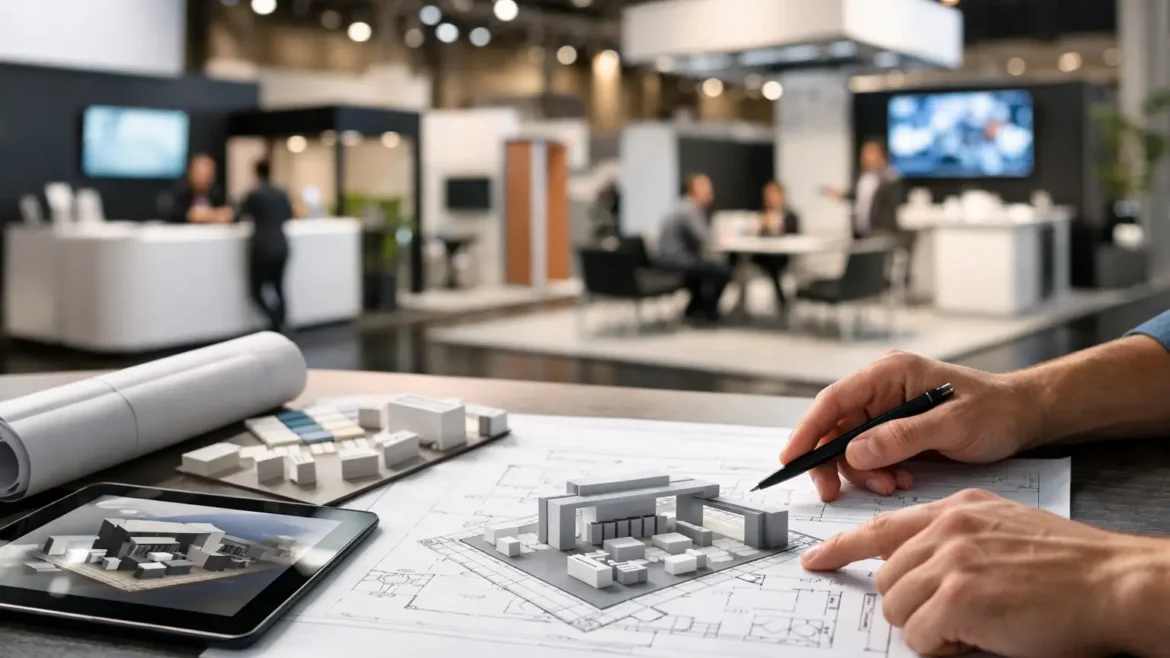
A busy trade show floor gives visitors seconds to decide where to stop. That is why knowing how to plan exhibition stands is less about filling square footage and more about creating a space with a clear commercial job: attract the right people, start useful conversations, and give your team the tools to convert interest into action.
The strongest stands are planned well before colors, finishes, or feature walls are discussed. They begin with a focused brief, a realistic understanding of the venue, and a build strategy that protects the design when production and installation deadlines tighten.
Start With the Business Outcome
An exhibition stand should not be designed around the question, “What will look impressive?” Start with, “What must this event deliver?” The answer changes the layout, visitor journey, staffing plan, and budget.
A product launch may need a high-impact reveal area and space for demonstrations. A B2B company focused on lead generation may need open conversation zones, a quick qualification point, and private seating for serious prospects. A brand building awareness may prioritize visibility from long sightlines, a strong visual message, and an interactive feature that gives visitors a reason to pause.
Set a measurable target before design begins. This could be qualified leads, booked meetings, product trials, distributor conversations, sales orders, or social content created on-site. A stand can look premium and still underperform if it has not been planned around a specific result.
Build a Brief Your Contractor Can Execute
A useful brief gives the design and build team direction without prescribing every visual decision. Include these four essentials:
- The event name, venue, dates, stand size, and open sides
- Your primary audience and the action you want them to take
- Products, services, demonstrations, or equipment that must be displayed
- Your budget range, approval process, and required delivery milestones
Also share brand guidelines, previous stand photos, campaign visuals, and any venue regulations already provided by the organizer. Early access to these details prevents redesigns later, especially when height restrictions, fire-rated materials, rigging rules, or electrical requirements affect the concept.
Plan Exhibition Stands Around Visitor Flow
The best exhibition stand layouts make sense at a glance. Visitors should be able to understand what you offer from the aisle, see where to enter, and find a reason to continue inside. If the path is unclear, the space can feel like a display window rather than an active sales environment.
Start by identifying the stand’s strongest viewing angles. A corner stand has two opportunities to catch traffic, while an island stand needs a clear visual statement from every side. For inline spaces, the back wall carries more of the branding workload and should not become a cluttered catalog of products and messages.
Create a hierarchy. Your main message should be visible from a distance. Product categories, proof points, and supporting graphics should become clear as visitors move closer. Small text, lengthy paragraphs, and overloaded walls rarely work in a fast-moving venue.
Then zone the stand according to what people need to do. A welcoming front edge can draw attention with a hero product, digital screen, or short message. Demonstration areas need room for a small audience without blocking access. Meeting areas should sit away from the busiest edge where possible, while storage must be easy for staff to reach but invisible to visitors.
There is a trade-off here. An open stand feels inviting and makes a smaller footprint appear larger, but it offers less privacy and fewer places to hide stock. A more enclosed structure can create a premium lounge or immersive experience, but it must earn that enclosure with a compelling reason for visitors to enter.
Choose Features That Support the Conversation
Every major stand feature should help sell, explain, demonstrate, or collect leads. This is where many projects lose focus. A large LED wall may attract attention, for example, but only if its content is designed for viewing at a distance and changes quickly enough to hold interest. A touchscreen can work well for technical product information, but it should not replace a knowledgeable staff member when the buyer has complex questions.
Physical products deserve thoughtful display planning. Decide whether they need to be touched, tested, compared, secured, or restocked during the day. Heavy equipment may require reinforced flooring and practical loading access. Small premium items may need illuminated showcases, lockable storage, and controlled viewing. Samples, brochures, giveaways, and refreshments also need a designated place rather than being added to the counter at the last minute.
Lighting is equally functional. Use it to make products readable, define zones, and give key surfaces depth. General venue lighting is rarely enough to present finishes, packaging, or detailed displays at their best. At the same time, excessive spotlights and bright screens can create glare, heat, and visual noise.
Budget for the Full Build, Not Just the Render
A polished 3D render is only the beginning. When planning an exhibition stand, the budget must account for design development, fabrication, graphics, furniture, AV equipment, lighting, electrical work, transport, installation, dismantling, and storage if needed.
Custom-built structures create stronger brand presence and allow the layout to fit your goals precisely. They can also be reused in part if they are planned with modularity in mind. Rental systems are often faster and more economical for simple formats or frequent events, though they can limit the level of architectural detail and brand-specific finishing.
The right option depends on the event calendar. If your company exhibits once a year with a high-value audience, a bespoke build may be the better commercial decision. If you attend multiple regional shows with changing footprints, modular elements that adapt across venues can reduce future costs and shorten production timelines.
Avoid setting the budget only after approving the concept. Instead, ask for a design approach that is aligned with the investment range from the start. This lets your contractor recommend where custom fabrication matters most, where rental components are sensible, and where spending adds little visitor value.
Confirm Venue Rules and Technical Requirements Early
Exhibition halls operate on strict schedules. Late changes can lead to added costs, rejected elements, or stressful on-site compromises. Review organizer manuals as early as possible, particularly rules covering maximum build height, suspended signage, power supply, floor loading, internet access, working hours, and material approvals.
Technical coordination matters even on a compact stand. Screens require suitable power points and cable routes. Storage rooms need ventilation if equipment is operating inside. Pantry requirements may affect plumbing and waste arrangements. Raised platforms may need ramps or edge treatments, depending on the venue and accessibility requirements.
For events in Dubai and across the UAE, local experience is valuable because venues, organizers, and approval processes can vary. An in-house fabrication and installation team can flag practical issues before materials enter production, rather than trying to solve them during the build-up window.
Design for the Team Working Inside It
A stand is a workplace for several intense days. Staff need enough room to greet visitors, run demonstrations, handle leads, store personal items, recharge devices, and reset the display between meetings. If there is nowhere to place a laptop, a bag, or a box of brochures, those items will quickly appear on counters meant for visitors.
Plan the staffing model alongside the layout. A compact stand with two representatives needs different circulation than a product demo space staffed by six people. Give the team a simple lead process: who welcomes, who qualifies, who gives the technical explanation, and who follows up. The stand can support this with clearly placed tablets, scan points, seating, and display zones.
Before opening day, walk through real scenarios. Where does a visitor wait during a demo? Where does a serious prospect sit? Can staff restock a giveaway without crossing the main conversation area? Is the key message still visible when the stand is busy? These questions reveal more than another round of decorative changes.
Treat Installation as Part of the Plan
A successful installation starts in the workshop. Pre-building key elements, checking graphics, testing AV content, labeling components, and coordinating transport all reduce risk at the venue. The more complex the structure, the more valuable this preparation becomes.
Work with a contractor that can manage design, fabrication, graphics, logistics, and on-site installation as one connected scope. Creative Roots approaches exhibition projects this way, combining custom design with in-house manufacturing and hands-on delivery. It gives clients clearer accountability when deadlines, approvals, and production decisions need fast coordination.
Keep one person on your side responsible for final approvals and event communication. They do not need to manage every construction detail, but they should be available to confirm artwork, product lists, access requirements, and last-minute operational decisions.
A stand earns its value when it makes the right conversation easier. Plan for that moment first, then build every graphic, light, counter, and display around it.