
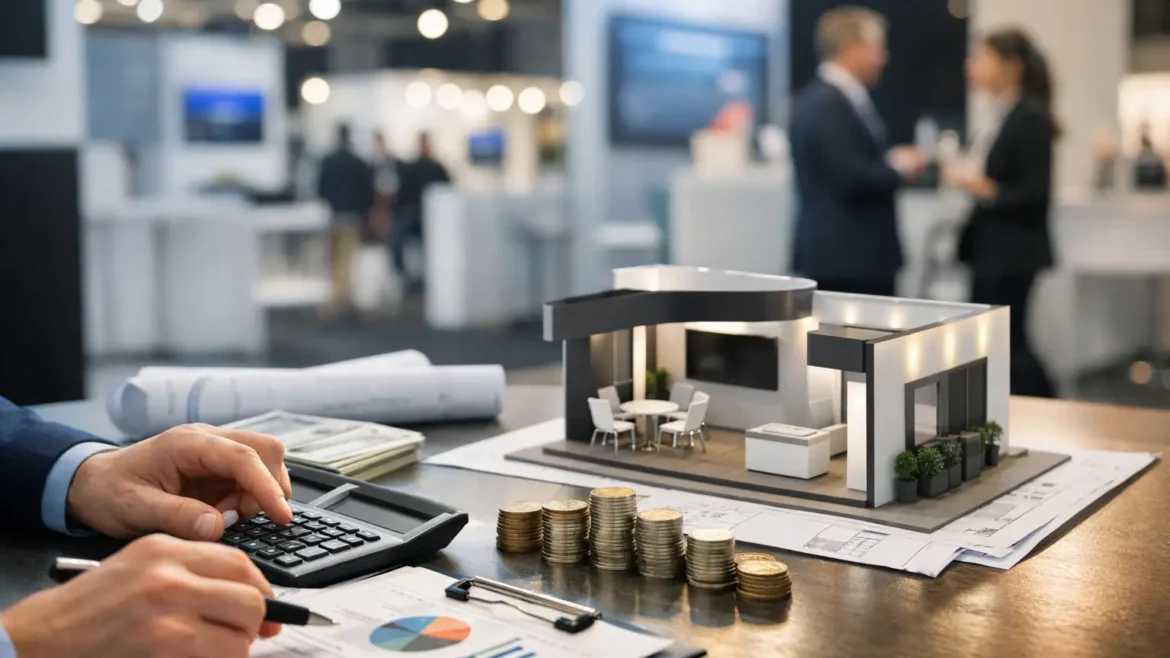
A crowded exhibition hall makes one fact clear: the cheapest stand is rarely the least expensive choice. If it fails to communicate your offer, creates installation issues, or attracts the wrong visitors, the real cost shows up in lost conversations and weak lead quality. Effective exhibition stand budgeting starts by treating the stand as a commercial asset, not simply a temporary structure.
For brands exhibiting in Dubai, Abu Dhabi, Sharjah, or elsewhere in the UAE, the goal is not to spend more for the sake of visual impact. It is to invest in the elements that make visitors stop, understand the brand quickly, and give your team a practical space to do business. That requires a budget built around objectives, site realities, and execution from design through final installation.
Start Exhibition Stand Budgeting With Business Goals
Before approving a size, finish, or feature wall, define what the stand must achieve. A product launch needs a clear hero display and enough room for demonstrations. A B2B service brand may need a strong reception point, discreet meeting space, and messaging that can be understood from across the aisle. A retail-focused activation may prioritize product access, sampling, and shareable visual moments.
These decisions affect cost far more than decorative preferences. A stand designed to collect qualified leads needs different zones and staffing support than one intended to build awareness. If your target is meetings with key buyers, allocating budget to a semi-private discussion area can produce more value than adding another decorative element.
Set two practical targets before design begins: the outcome you want from the event and the maximum all-in investment you can justify. “All-in” matters. It includes more than the contractor quote. Floor space, organizer services, stand construction, graphics, furniture, utilities, technology, transport, installation, dismantling, staff travel, and contingency all belong in the working budget.
Separate the Build Budget From the Event Budget
A common budgeting mistake is to compare exhibition stand quotes while leaving major event costs on a separate spreadsheet. This can make a custom-built stand appear affordable until electrical connections, rigging approvals, AV requirements, or venue services are added later.
Create one event budget with clear categories. The stand build should cover design development, fabrication, finishes, graphics, furniture, lighting, and installation labor where applicable. The event budget should also account for space rental, organizer charges, lead-capture tools, promotional material, hospitality, staffing, and post-event follow-up.
This separation helps procurement teams compare supplier proposals fairly while giving marketing teams visibility over total event spend. It also reveals where a lower build cost could create higher operational expense. For example, hiring individual furniture pieces, counters, screens, and storage units may cost more than integrating them into the build from the start.
Know What Drives Stand Construction Costs
Stand size matters, but it is only one cost driver. A small stand with custom curves, illuminated elements, high-end joinery, and interactive displays may require more fabrication time than a larger, straightforward structure. Good budgeting comes from understanding the level of complexity your brief introduces.
Structure, height, and custom fabrication
Shell-scheme upgrades are generally more economical than fully custom stands, but they offer less control over form, storage, and brand presence. Custom stands give brands freedom to create a distinctive environment, especially on corner, peninsula, or island spaces. The trade-off is that each structural feature, finish, and connection detail needs design, workshop time, transport planning, and on-site assembly.
Double-deck structures, suspended elements, raised flooring, and tall walls can make a serious statement, but they may require additional approvals, engineering, fire-rated materials, and venue coordination. They should be chosen because they support visibility or visitor flow, not because they look impressive in a rendering.
Materials and finishes
Material selection is where design intent meets commercial discipline. Laminate, paint, fabric, printed panels, acrylic, metal, timber veneer, and specialty surfaces all create different visual results and different cost profiles. A premium finish on the reception desk or product display can be worth the investment because visitors experience it up close. Applying the same finish across every wall may not improve the result proportionately.
A capable contractor can help value-engineer the scheme without flattening the creative idea. That might mean using printed graphics for distant surfaces, reserving textured finishes for touchpoints, or designing modular components that can be repurposed at future events.
Lighting, screens, and power
Lighting can transform a standard booth into a focused brand environment, yet it is often added late. Plan it early. Feature lighting, backlit branding, product illumination, LED walls, screens, charging points, and demo equipment need power planning, cable management, and sufficient load capacity.
Technology should earn its place. A large LED display can be highly effective for motion-led campaigns or live demonstrations, but a static screen playing generic video often becomes an expensive background. If a product needs detailed explanation, invest instead in a well-positioned demo area and a clear visitor journey.
Build a Contingency That Protects the Project
An exhibition budget without contingency is a budget that assumes every approval, material delivery, and venue requirement will proceed exactly as planned. That is rarely realistic, especially when timelines are compressed.
Set aside a defined contingency amount from the beginning. The right percentage depends on the complexity of the stand, the venue rules, and how early the design is finalized. More bespoke fabrication and more technical features generally justify a larger allowance. The contingency is not a license for uncontrolled changes. It is protection against necessary revisions, additional organizer requirements, last-minute graphics, replacement materials, or site-related adjustments.
The best way to preserve it is to lock critical decisions early. Confirm stand dimensions, utility requirements, logos, artwork, product displays, and approvals before fabrication begins. Late artwork changes can affect printing, fabrication sequencing, installation slots, and freight, even when the change itself appears small.
Ask for a Quote You Can Actually Use
A useful proposal does more than present a total price. It explains what is included, what is excluded, and what assumptions have been made. This is particularly important when comparing a custom exhibition contractor with a supplier offering a standard package.
Ask whether the quote includes design, 3D visuals, technical drawings, production, graphics, furniture, lighting, electrical work, transport, installation, dismantling, and site supervision. Clarify whether organizer forms, permits, utility orders, and venue charges are included or handled separately. If there are optional upgrades, request them as separate line items so you can make informed trade-offs.
Be cautious with comparisons that focus only on the bottom line. One quote may include in-house fabrication, managed installation, and integrated graphics, while another may exclude several services that will later require separate vendors. A lower starting figure is useful only if the scope is equally complete.
For a high-visibility project, working with one team that designs, fabricates, and installs can also reduce coordination risk. Creative Roots approaches exhibition projects this way, aligning the creative concept with the practical requirements of production and on-site delivery.
Spend Where Visitors Notice and Your Team Benefits
Not every part of a stand needs the same investment. Prioritize the elements that shape first impressions and support real interactions: visible brand identification, a clear product or service message, quality lighting, a functional reception point, practical storage, and enough room for the team to engage visitors comfortably.
Storage is frequently undervalued. A cluttered stand weakens even the strongest design, while concealed storage keeps brochures, packaging, personal items, and refreshments out of sight. It also helps staff reset the space quickly during busy periods.
Visitor flow deserves the same attention. Do not block the entrance with furniture or create a beautiful feature that prevents people from entering. Design should guide visitors from attraction to conversation, demonstration, and a clear next step. That is where exhibition investment becomes measurable business opportunity.
Plan for Reuse Without Forcing It
Reusable stand components can reduce future costs, but reuse only works when planned honestly. Brand campaigns change, floor plans vary, and some materials are not built for repeated installation. A fully reusable system may also limit the bespoke impact needed for a flagship event.
The practical approach is selective reuse. Invest in durable branded counters, modular wall systems, display plinths, lighting fixtures, and furniture that can adapt to different footprints. Keep campaign-specific graphics and distinctive feature elements flexible. This gives your team a recognizable brand platform without repeating the exact same stand at every show.
A well-managed budget does not make an exhibition stand less ambitious. It gives every detail a job to do. When the design, fabrication plan, venue requirements, and visitor experience are considered together, your stand can look exceptional on opening day and keep working long after the event floor closes.